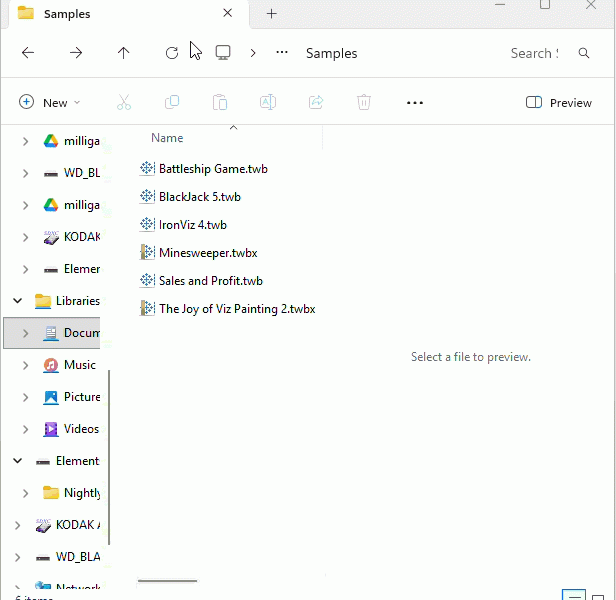
Wow! I’m still stunned to have won the first IronViz feeder contest for 2017! And excited! And humbled. And honored. Wow! Thank you to everyone who has had kind words of encouragement!
You can read some broad description of my entry here: The Changing Shape of History: From the Colonies to the United States. In this post (which I originally shared on the Tableau Forums), I thought I’d share a technique that I used in the viz that might be of some interest, specifically using semi-transparent images to create a certain aesthetic for dashboards. There could be numerous ways to use this technique to create different aesthetics. This is one example:
An Example of using Semi-Transparent Images
Here’s part of the viz, and hopefully you see the aesthetic I was going for: an old map or old history book (or maybe even a call-back to an old document like the Constitution or Declaration of Independence):

Now, if we ever get transparent worksheets (which has been suggested as idea or two on the Tableau forums – feel free to vote!), then this sort of thing will be even easier to create. But Tableau is still flexible enough to let us do it.
The basic idea is to float semi-transparent images on top of the dashboard, but strategically as whatever floats on top will prevent interaction with anything under it. Here’s the image I started with:

And then I used Gimp, a free Photoshop-like application, to give the image some transparency and then to shape the image as needed to fit on the dashboard. You could use any image editing application of your choice.
1. The Dashboard without any overlay
The dashboard is long, allowing you to scroll down through the timeline story. I built it as I went, but each section was pretty much mostly built before I added the semi-transparent images:

2. With the original image floating over it
Here I’ve added the original image. It still needs some work:

You can clearly see where the image is in this case. Anything under it will not allow for interaction (selection, hover), though if the view changes as the result of an interaction that is allowed elsewhere, you will see it through the transparency.
3. Shaping the image in an image editor to allow it to blend seamlessly
The Eraser tool makes it easy to remove areas of the image completely or simply soften the fade of transparency for parts of the image. I would have both Tableau and Gimp open at the same time so that I could see how changes to the image would look on the dashboard. I found that a slight resizing of the image on the dashboard, in recent versions of Tableau, causes it to reload the image from disk so I could immediately see if I’d added transparency in the right places.

4. Iteratively Adding Layers
I positioned multiple copies of the image in various places on the dashboard, giving each one just the transparency I wanted. This allowed me to create a seamless effect but leave the visualizations uncovered where I wanted to allow for user interaction. Here, for example is the section of the dashboard with multiple images placed so they allow for interaction with the parameter and map:

I’m excited to think of other ways to use this technique. It definitely isn’t for every dashboard, but there are times when you want to give a dashboard a certain aesthetic, or create clean curves around a viz, or cause certain visualizations to fade away…
Let me know what you think, if you have any questions or additional thoughts!
Best Regards,
Joshua